Yogurt is a known super food because of the nutrients cramming its content. Produced plain or flavored in both eatable and drinkable forms, served frozen or straight from the pack, it is the number one choice of wellness-minded foodies.
The body’s digestive tract is a hot hub for bacteria and probiotic-rich foods like yogurt create a good balance between all thriving bacteria living in your gut. This balance in turn makes for better digestion. In addition, the probiotics present in yogurt lends a hand in making your body absorb and take in more of the nutrients it needs.
Yogurt is also packed with calcium and protein, elements needed in order to develop stronger bodies. Protein and the right amount of natural carbs and sugars make dairy products like yogurt into a healthy, filling snack. According to studies and tests, this particular food item made individuals who took it feel fuller a lot longer as compared with other calorie-packed snacks.
It is basically one of the easiest, fuss-free foods that can be made at home. It takes some time but the procedures only takes few steps to accomplish. Here is a recipe for chocolate yogurt that you can do right in your kitchen.
Equipment
 A pot
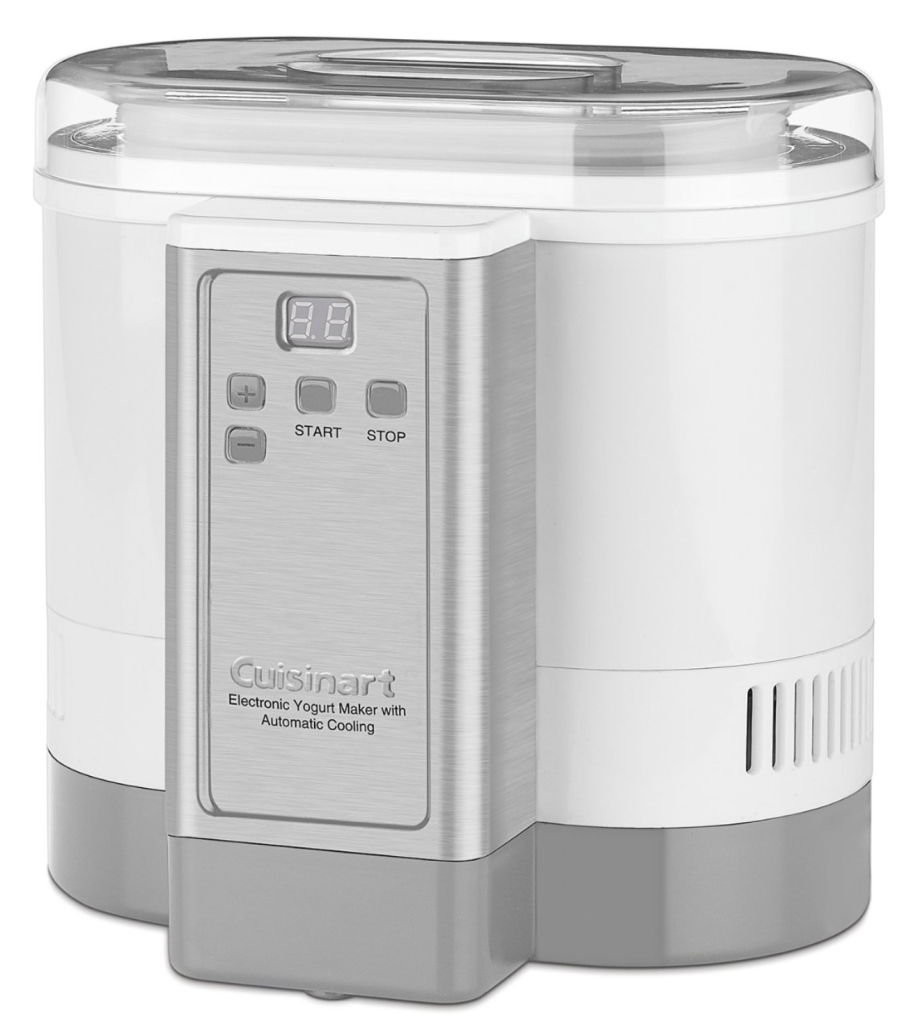
A pot- A yogurt maker (recommend Dash, Cuisinart, or Euro Cuisine)
- A kitchen thermometer
- A clean jar or container
Ingredients
- 1 quart of whole milk
- 1/4 to 1/3 cup of chocolate syrup
- 1/3 cup of instant powdered milk
- 1 tablespoon of plain yogurt
Procedure
- Heat the 1 quart of milk and stir the chocolate syrup in.
- Once the milk and chocolate mixture are blended well, add in the instant powdered milk, letting it rehydrate. Once the powdered milk is dissolved, cool the mixture down up to 110 degrees Fahrenheit.
- Add the plain yogurt.
- Once the mixture has combined well, pour it in the container and place it inside the yogurt maker.
- Follow the time guidelines on the yogurt maker’s instructions. Leave the mixture to ferment for several hours and refrigerate immediately after fermentation.
Tips
 The yogurt that you make will last for a good 8 to 10 days as long as you keep it in the fridge. However, if you are in doubt, use the milk’s expiration date as a guide. The yogurt that you will make is technically unprocessed thus it does not have any sort of preservatives to help lengthen its shelf life.
- If the product that you made has a grainy texture, chances are the milk was overheated. The kitchen thermometer will help curb this issue so always check the temperature while scalding the milk.
- You can also add in fresher flavors to the product by mixing fruits, preserves, chocolate syrup or shavings, honey or any kind of flavoring right before you serve the yogurt.
- When it comes to the taste of yogurt, its tartness or tanginess can be regulated by the kind of bacteria provided, the quantity of culture added in the mix and the length of its fermentation.
- Try to make other variations with chocolate yogurt: chocolate yogurt cake, chocolate frozen yogurt, chocolate yogurt muffins or chocolate yogurt pudding!
Your very own chocolate yogurt may just be the best tasting you’ve ever had. After all, it is made with fresh ingredients – and love.
Check out our many other yogurt recipes, reviews of yogurt makers and ice cream makers!


 Making Homemade Greek Yogurt: Closing Thoughts

